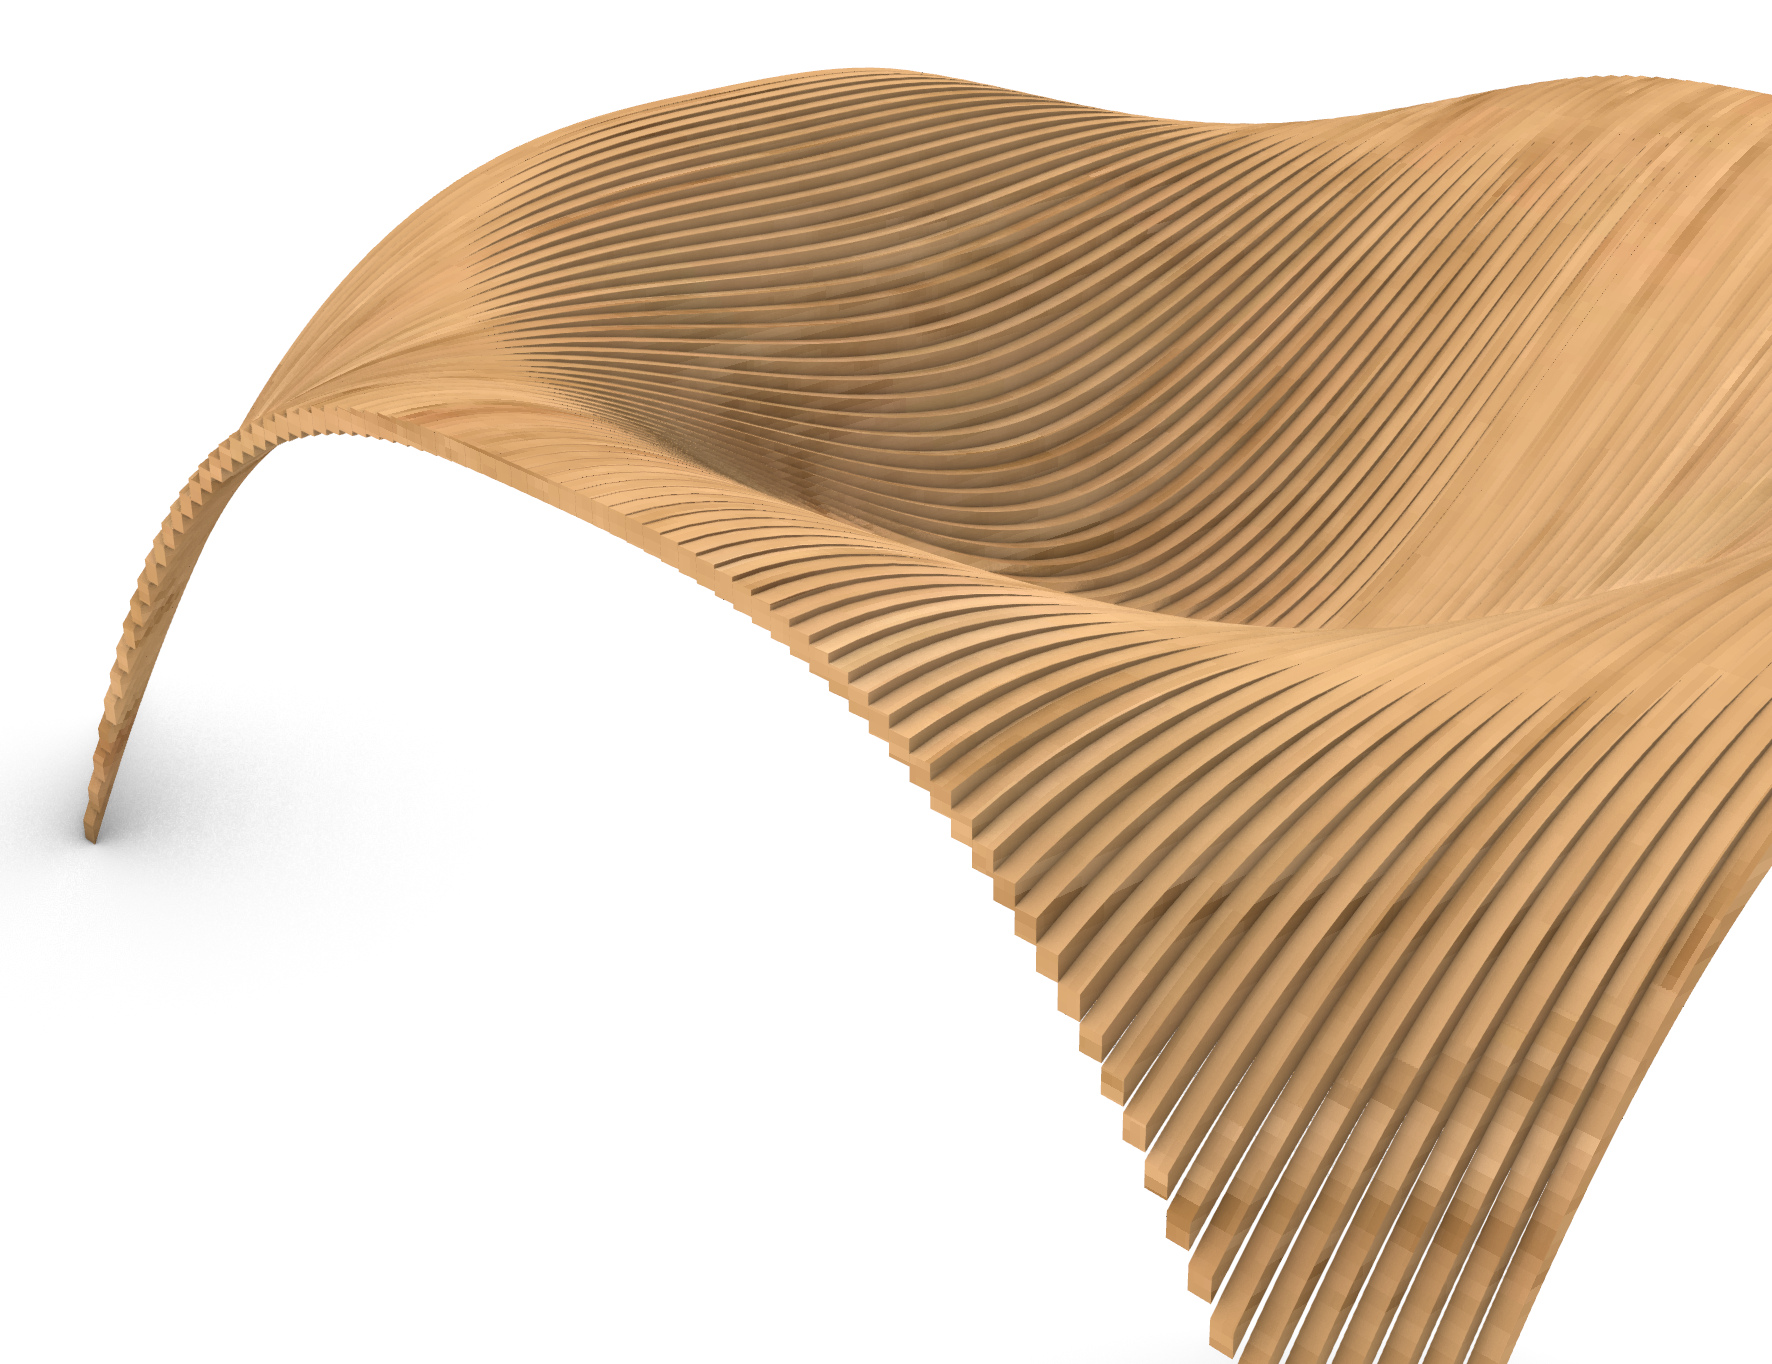
Last time we decided to make an individual design. So I made a sofa and a shelf that used a similar design. I used Grasshopper for all of the processes.
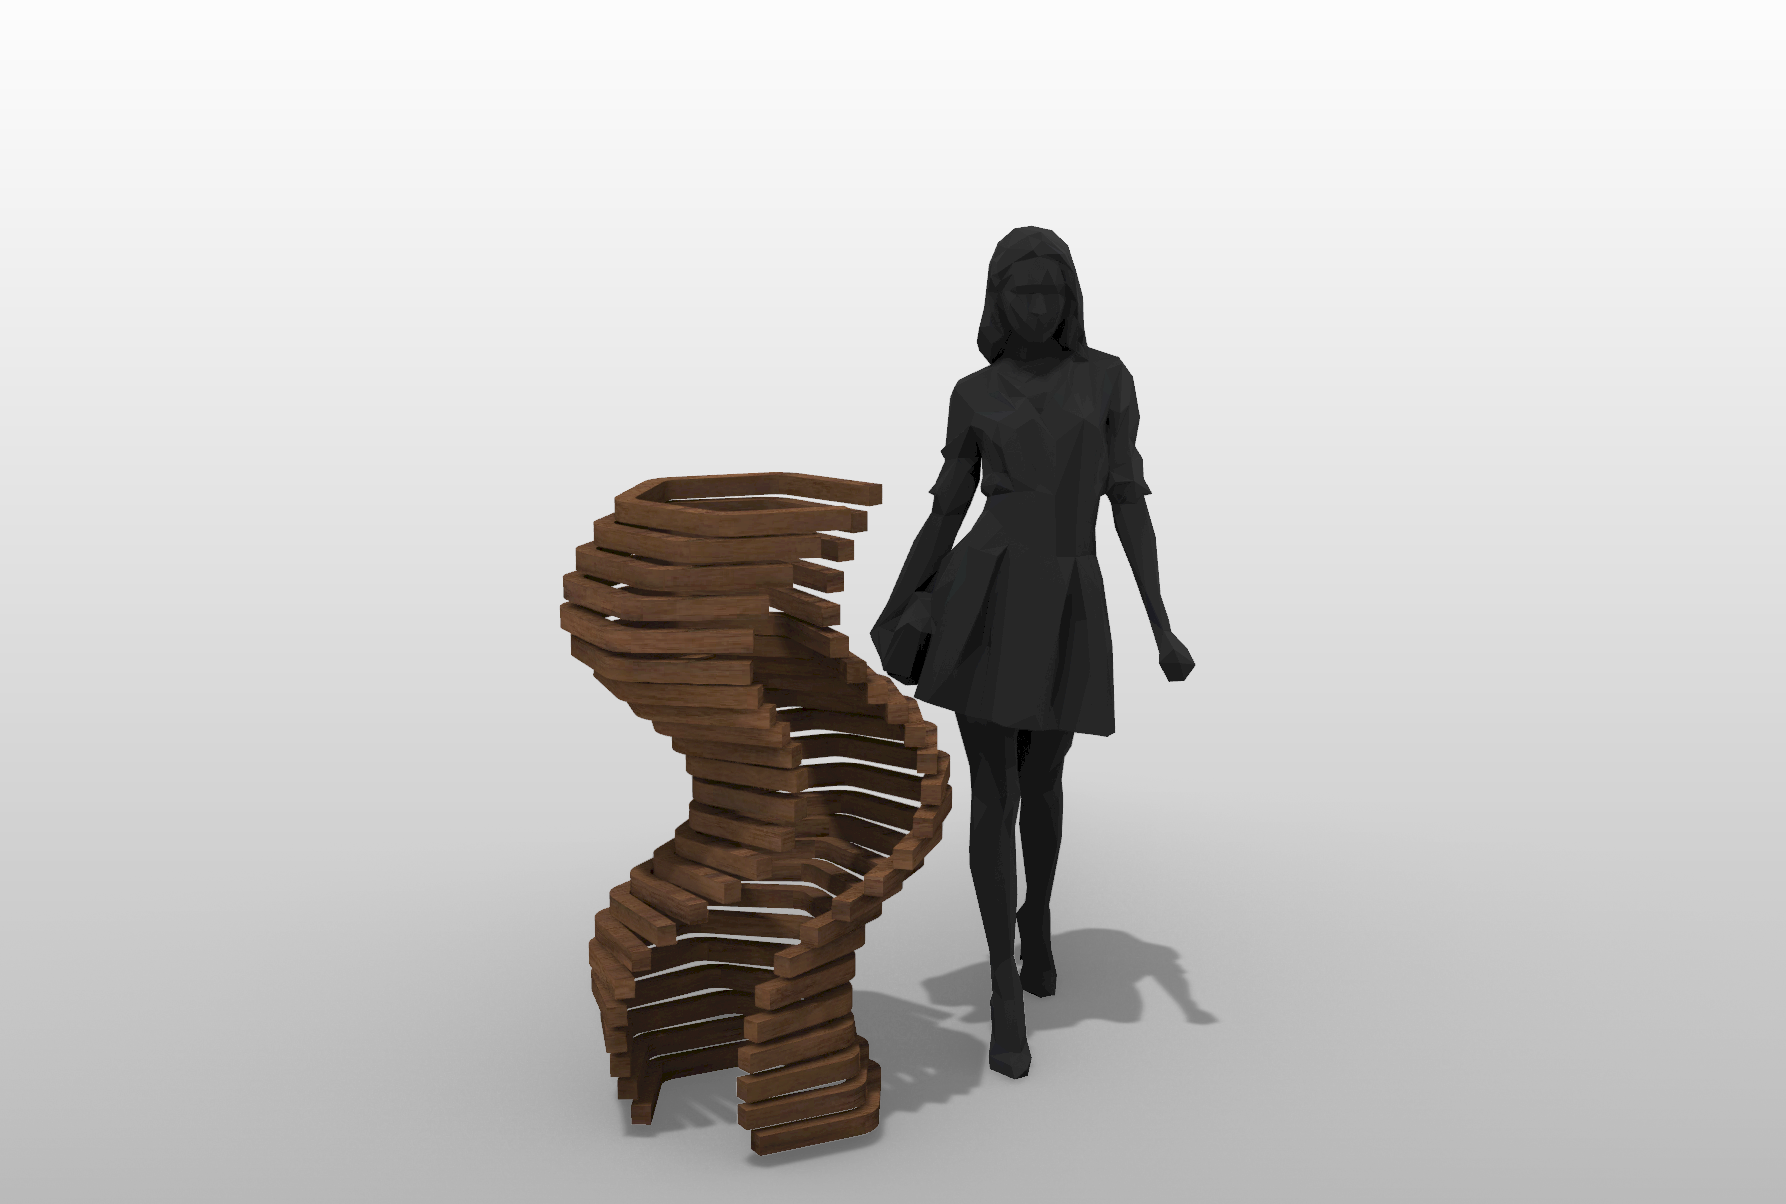
[Animated Object]
What I realized through this assignment is Grasshopper makes it easier to create parametric structure!
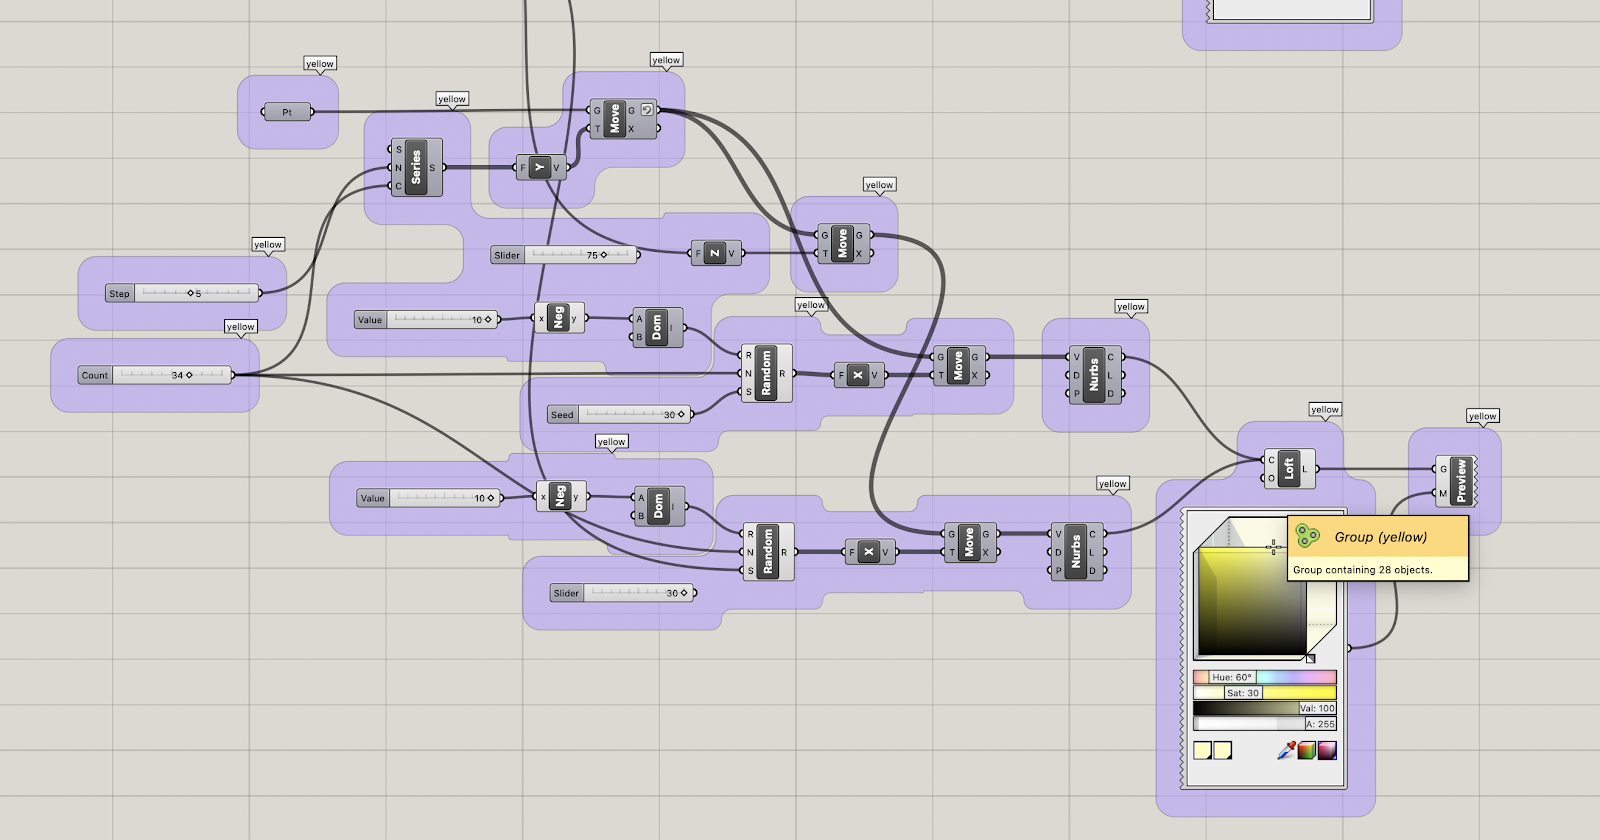
Originally I wanted to make an animation of the bloom of flowers, but I thought that is gonna be way too hard for me and I will spend about a month. So I changed my mind to make waves. Firstly, I made a random curve, used the 'random' tool. And I used a lot of the 'move' command to make the length of the object. Finally, I copied+paste the structure and put some different cute colors. Also with the Remap value, make the all movement together! and I really love how the outcome came out.
* Click the images to link to the page! *
[Castle Project]
[Surface Design Project]
[Reverse Engineered Project]
[Chess Set Project]
[3D-PRINTED CHESS SET]
[Concept]
This is my final concept for this project. The reason that I choose this concept is I want to reverse it to creative and ideal shapes but I also want to keep the SYMBOLIC imagery of each piece.
[6 Different Pieces in a line]
I used my favorite colors; pastel, this is my representative colors among the entire of this course. Similar to the Reverse Engineered project, I choose to not use any shade or darkness on my object because that is more comport to the mood/tone of the LEGO concept. I also tried to make it looks like a 'product design' concept.
[The entire set Mocked up on a chess board]
I challenged two different styles of rendering, another one is the black/white glass. The rendering took about 3hrs 40min, and I really love how they came out after. One thing I want to fix is the shades. It could be more realistic if with some shades on the bottom of the pieces.
[Photo/video documentation of printing process]
I failed twice while I was printing, the first was because I made a mistake with setting before printing. the first time, I printed whole pieces at the same time, but that was not the right choice. I did not check the 'brim', so they were just fell down. So I choose to give them brim to hold the bottom strongly. But the main problem of the second and third was the scale. I divided the number of printing as 3 times, so the scale was not balanced between each other. The last day of finishing my 3D printing was Tuesday, Nov. 30. (it took about 2 hrs ~ 3 hrs for each piece) Anyway, I learned a lot of processes of the 3D printer while those mistakes.
[Final 3D prints]
I am satisfied with the outcome, especially the knight is my favorite piece.
I really appreciate that I could learn about the 3D printing process while this course. I strongly recommend this course to other students and I believe that I am gonna take 310 class next year.
😆
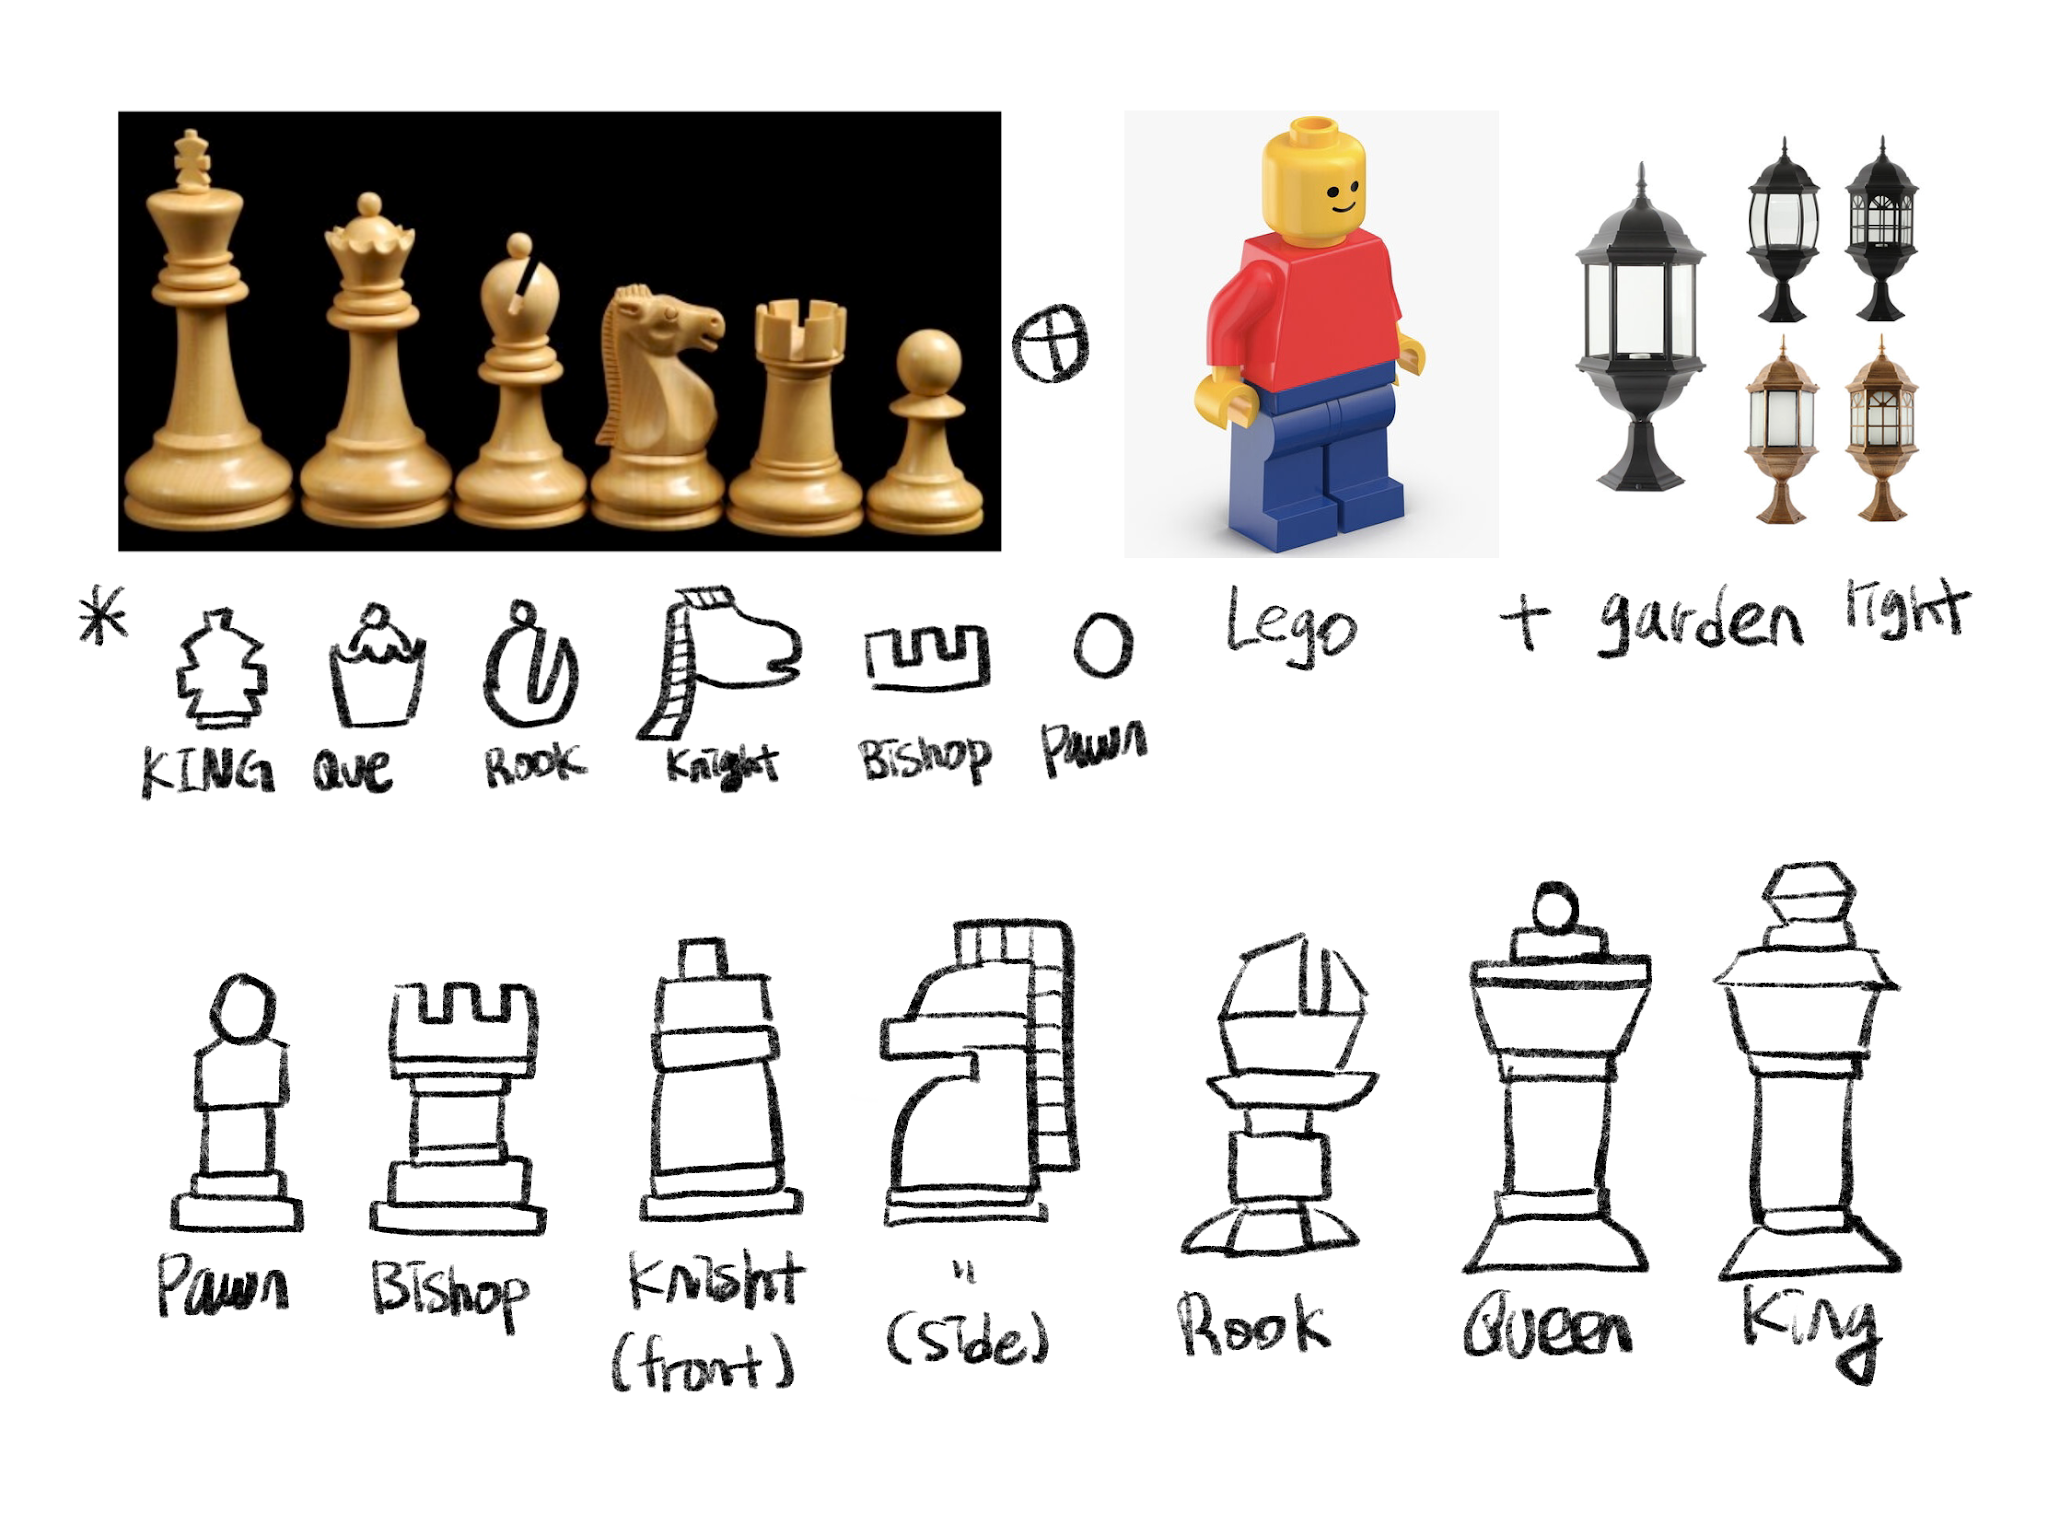
I made a new concept for the Chess Set Project. I combined chess pieces, lego, and garden light together. Fitstly, I pointed a symbol of each pieces to recognize, and reverse them to lego shapes. For the body part, I used garden light shapes to look more balanced, but the shapes are still the lego. I would like to put more details when I redndering them after, such as edges and curves.


